Most commercial ergonomic marketing suggests that pain-free computer work requires an investment of thousands of dollars in mechanical standing desks, dynamic mesh chairs, and articulated monitor arms. In practice, spinal biomechanics depend on angles, support surfaces, and clearance, not on brand labels or patent mechanisms. Your body registers whether your joints rest in mechanical equilibrium, not whether the platform supporting your screen came from a specialty catalog or a stack of hardback reference books.
A neutral posture is achievable using standard furniture, common household objects, and strict attention to measurement. By understanding how the cervical, thoracic, and lumbar regions interact under gravity during sustained sitting, you can reconfigure an ordinary dining chair, a utility table, and basic household items into a workstation that minimizes tissue strain. If you experience chronic numbness, acute radiating nerve pain, or persistent structural symptoms, you should consult an occupational therapist, physical therapist, or medical doctor. For standard postural fatigue, however, mechanical adjustments produce immediate, measurable differences.
Defining Neutral Posture in Seated Work
Neutral posture is the alignment where joints remain close to the middle of their available range of motion, balancing muscular effort around the skeleton. When sitting, this requires the pelvis to maintain a slight forward tilt, preserving the natural inward curve (lordosis) of the lower back. If the pelvis tilts backward, the lumbar spine flattens or rounds into a C-shape, forcing the thoracic spine to hunch and driving the head forward to track the display. This posture increases mechanical load on the intervertebral discs and strains the extensor muscles along the neck and shoulders.
A true seated neutral state involves specific geometric ranges across major joints:
- Ankles: Positioned directly beneath or slightly ahead of the knees at an angle of roughly 90 degrees, with soles resting flat on a stable surface.
- Knees: Bent between 90 and 105 degrees, with approximately 2 to 3 fingers of open clearance between the back of the knee joint and the front edge of the seat pan.
- Hips: Angled between 90 and 100 degrees, slightly higher than or level with the knees to discourage posterior pelvic tilt.
- Elbows: Suspended loosely alongside the ribcage, bent between 90 and 110 degrees, with forearms parallel to the floor or sloping downward slightly.
- Wrists: Kept straight and unbent, avoiding upward extension or sideways deviation toward the pinky finger.
- Eyes: Gazing naturally downward at an angle between 10 and 20 degrees below horizontal.
Achieving these targets requires matching your body dimensions to your tools rather than forcing your body to adapt to static furniture heights. When these angles fall out of tolerance by even 10 degrees over six to eight hours, localized static muscle loading leads to reduced capillary blood flow, stiffness, and connective tissue soreness.
Repurposing Household Items for Monitor Elevation
The top border of your visual display should sit at or roughly 1 inch below resting eye level when you sit upright. Laptops place screen height and keyboard input on the exact same plane, making neutral neck alignment impossible without separate peripheral devices. To fix this, you must separate screen viewing from input control using an external keyboard and mouse, then raise the screen with dense, non-slip objects already in your home.
Rigid, flat objects provide the safest risers for monitors and laptops. Stacked hardcover art books, encyclopedia volumes, or reams of 20-pound printer paper work well because they do not compress unevenly under load. Avoid soft materials like foam cushions, cardboard shoe boxes, or warped wood planks, which create wobble and introduce drop hazards. A stable wooden kitchen cutting board placed across two equal stacks of books can turn a narrow base into a wide, uniform shelf for dual monitors or larger displays.
| Support Material | Weight Capacity | Stability Rating | Adjustment Method |
|---|---|---|---|
| Reams of 500-sheet copy paper | High (over 30 lbs) | High | Add or remove individual reams (roughly 2 inches per ream) |
| Hardcover textbooks | Moderate (15 to 25 lbs) | Moderate to High | Swap book thicknesses (0.75 to 2.5 inches each) |
| Wooden chopping board on yoga blocks | Moderate (15 to 20 lbs) | Moderate | Change yoga block orientation (flat vs. edge) |
| Folded corrugated shipping box | Low (under 8 lbs) | Low | Not recommended; prone to sudden structural collapse |
Once you raise the monitor, measure your viewing distance. Sit back in your working position and extend your arm forward with fingers outstretched. The tip of your middle finger should graze the glass of the screen, placing it roughly 20 to 28 inches away. If text appears too small at this distance, do not push the screen farther back and tilt your neck forward; instead, scale the display setting in your computer operating system to 125% or 150% to maintain legibility without craning.
Adjusting Chair Height and Lumbar Support
An office task chair without height adjustment or a standard wooden kitchen chair presents an immediate challenge: you cannot move the seat up or down mechanically. If your seat is too low relative to the desk surface, your shoulders will shrug upward to position your hands over the keys, tightening the trapezius muscles. If the seat is too high, your feet dangle, concentrating your upper body weight on the back of the thighs and compressing the sciatic nerve pathway.
To raise an unyielding chair base, place a firm, non-skid seat cushion or folded wool blanket directly on the seat pan. A dense pad adds between 1 and 2.5 inches of height without sinking into a trough. If this adjustment leaves your feet suspended, build an improvised footrest. A firm storage bin, a yoga block, or a stack of flat magazines secured with duct tape creates a sturdy base underfoot. Your knees must remain level with or slightly below your hip sockets, with your feet planted securely.
Fixing lower back curvature requires an external brace to support the natural inward hollow of the lower back. You can make an effective lumbar roll from a standard bath towel:
- Lay a thick cotton bath towel flat on a hard surface.
- Fold the towel in half lengthwise to create a long, narrow strip.
- Roll the strip tightly from one short end to the other until you have a firm cylinder with an outer diameter between 4 and 5 inches.
- Wrap two rubber bands or strips of masking tape around the outer edges to stop the cylinder from unrolling.
- Place the roll across the small of your back, just above your beltline, and lean back into the chair.
Adjust the tightness of the roll according to your spine. If the towel pushes your lower back forward so far that your thoracic spine loses contact with the backrest, unroll one turn to reduce the diameter. The goal is gentle contact that fills the lumbar space rather than an aggressive wedge that arches your back.
Keyboard and Mouse Placement Rules
Your hands, wrists, and forearms should experience minimal torque during typing and tracking. The primary rule is keeping the elbows pinned gently at a roughly 90-degree angle alongside your torso, with wrists flat. If your desk is too high and cannot be adjusted downward, raise your seat as described in the previous section and raise your footrest accordingly, bringing your forearms horizontal to the desktop.
Avoid planting your wrists on the hard front edge of the table while typing. Resting the carpal tunnel region on a firm desk edge compresses the median nerve and increases intra-tunnel pressure, especially when the fingers extend upward to reach the keys. If your desk edge is sharp, soften it by taping down a strip of split pipe insulation, folded felt, or a strip of soft fabric. Keep your wrists hovering freely when you type, dropping them onto a soft surface only during brief rest intervals.
Keep your mouse immediately adjacent to the keyboard frame. Reaching outward to the side forces the shoulder into sustained abduction, which stresses the rotator cuff and upper back muscles. If you use a full-sized keyboard with a tenkey numeric pad on the right, you may find your right arm reaches uncomfortably far to operate the mouse. You can solve this by shifting the keyboard slightly leftward during text-heavy tasks, or by training yourself to operate the mouse with your non-dominant hand for basic web navigation.
Scheduled Posture Resets During Long Workdays
No static posture, however correct its geometry, remains healthy over eight unbroken hours. Static loads accumulate metabolic waste in contracted muscles and limit blood exchange through intervertebral tissues. An effective budget ergonomic system relies on scheduled movement routines to interrupt sustained muscle contraction before discomfort starts.
Use a free digital timer on your phone or computer to break your workday into structured 30-minute intervals. At the 25-minute mark, perform a basic posture reset while remaining seated, or stand up for 45 to 60 seconds. A reliable three-part seated reset sequence takes less than one minute:
- Scapular retraction: Draw your shoulder blades backward and downward toward your spine, as though tucking them into your back pockets. Hold this contraction gently for 4 seconds, release, and repeat 3 times to counter rounded shoulders.
- Cervical retraction (chin tucks): Look straight ahead, place a finger on your chin, and slide your head straight back, creating a double chin without tilting your head up or down. Hold for 3 seconds, then release. Repeat 4 times to unload the posterior cervical muscles.
- Pelvic rock: Sit on the front edge of your seat bones, rock your pelvis fully backward to round the spine, then rock it forward to exaggerate the arch, settling back directly into the neutral center point.
Every two hours, leave the desk entirely. Walk around your living space, fill a glass of water, or step onto a flight of stairs. Intermittent muscle activation pumps pooled venous blood out of the lower extremities and rehydrates your spinal discs through alternating pressure cycles, preventing midday posture collapse.
Common Mistakes to Avoid
Even well-intentioned DIY adjustments can introduce new biomechanical stresses if implemented without checking your alignment. Watch out for these four regular mistakes:
- Over-arching the lumbar spine: Using a pillow that is too thick pushes the lower back forward, jamming the facet joints together and creating lower spine compression. A rolled towel should fill a gap, not push you forward.
- Tucking feet behind the knees: Hooking heels under the chair pan or curling your legs beneath your hips increases pressure inside the knee joint and tilts the pelvis backward.
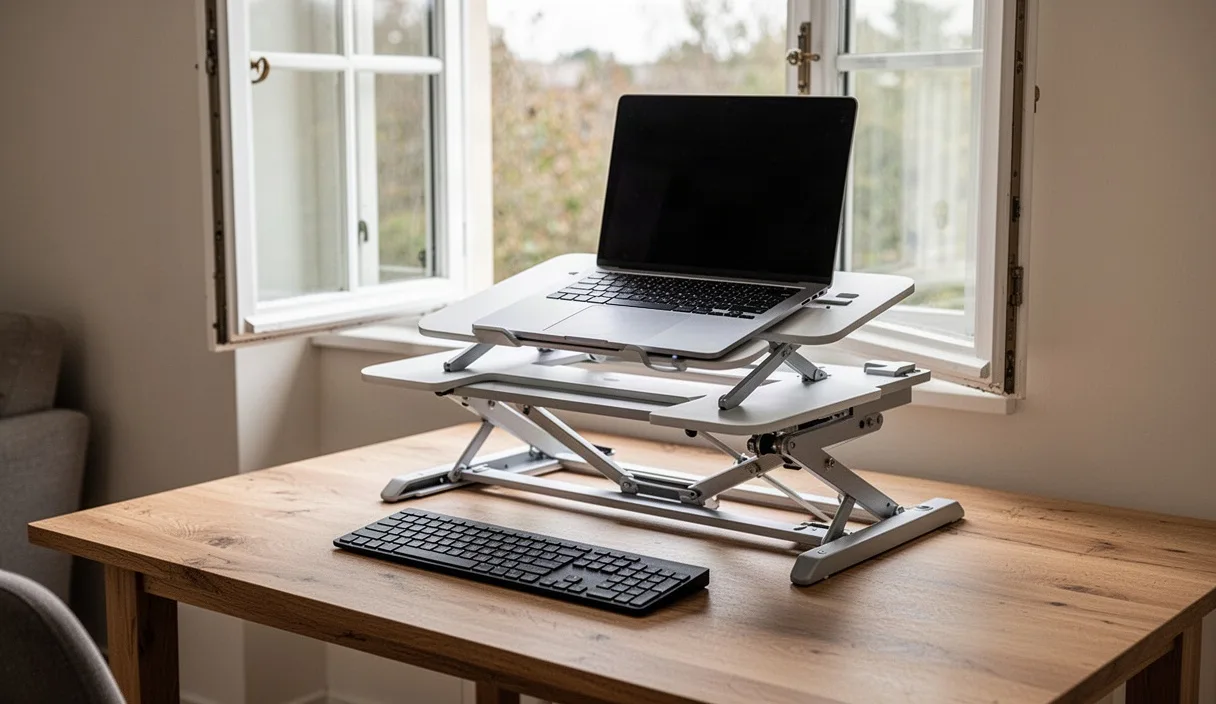
- Working from an angled laptop tray: Tilting a laptop upward on an angled stand without an external keyboard forces wrists into severe dorsiflexion, swapping neck strain for wrist strain. Separate your input tools from your viewing tools.
- Slumping as the day progresses: Allowing your pelvis to slide toward the front edge of the seat pan turns the rolled towel into an uncomfortable upper back lump and destroys lumbar support.
Practical Next Steps
Begin your workstation overhaul with an objective baseline assessment. Ask someone in your home to take a photograph of you working from a profile view, or set your smartphone timer to capture your natural posture after 20 minutes of typing. Look closely at the photo: trace the line from your earlobe to your shoulder, inspect the angle of your forearms, and check whether your feet rest flat on the floor.
Address one contact point at a time. Start with seat height and foot support to establish a firm base for the pelvis. Next, adjust your keyboard and mouse height to eliminate shoulder shrugging and forearm strain. Finally, raise your display to protect your neck, and roll a hand towel to support your lower back. Recheck your posture with a second profile photo to confirm your angles are correct. If you continue to feel sharp joint discomfort or muscle spasms after making these changes, schedule an evaluation with an occupational health specialist or a licensed physical therapist for a personalized assessment.